It costs a few cents, works quickly, and provides a strangely satisfying experience.
The kitchen is the most active area in a home, leading to messes accumulating rapidly. Grease sticks to cookware. Odors persist in sponges. Glassware becomes cloudy. A subtle change in your sink routine is becoming popular: a common pantry mineral that enhances the soap you already use.
Why add salt to dish soap
Salt serves as a mild abrasive. The crystals help dislodge baked-on food without damaging most finishes. Additionally, it assists your detergent in two practical ways. First, a small amount can increase the thickness of many dish soaps, allowing the mixture to adhere to grime instead of sliding off. Second, the increased ionic strength aids surfactants in lifting oils from surfaces.
Salt enhances dish soap’s effectiveness on grease while remaining gentle on everyday cookware and glass.
The benefits are evident on common kitchen challenges. Greasy baking sheets release more easily. Coffee stains on mugs come off with significantly less effort. Cloudy residue on glasses diminishes, particularly in areas with hard water. Plus, since you use less product to achieve the same outcome, the bottle lasts longer.
How to use it without damaging surfaces
Quick mix for everyday dishes
Avoid complex recipes. Use fine table salt or fine sea salt. Coarse flakes may scratch delicate finishes.
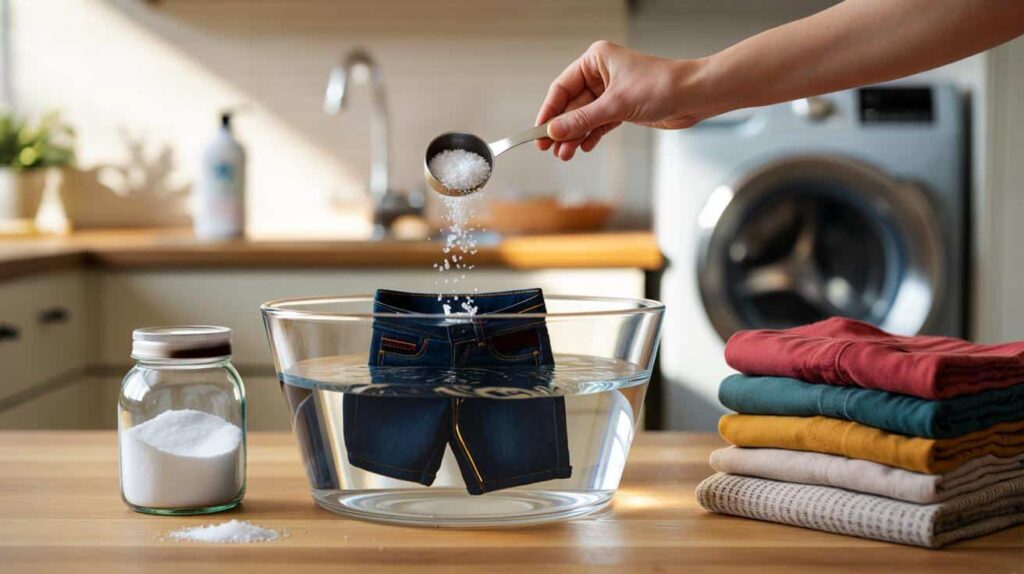
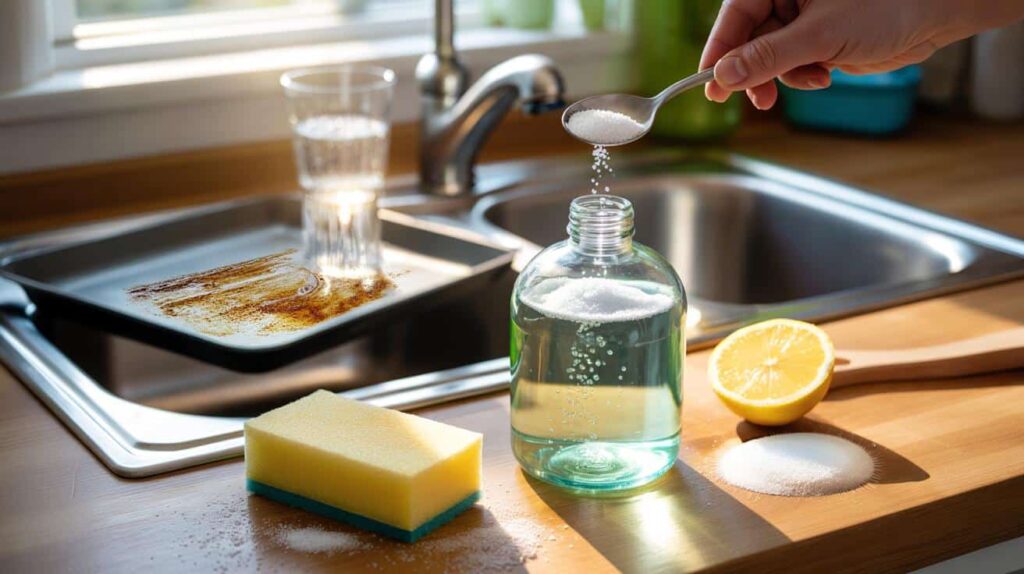
- Combine 1 to 2 teaspoons of fine salt with 250 ml (approximately 8 oz) of liquid dish soap.
- Seal the bottle and shake gently until dissolved. If any crystals remain, warm the bottle in a bowl of lukewarm water and shake again.
- Test on a single plate or glass. The soap should feel slightly thicker and rinse cleanly.
Start with a small amount. A little salt thickens many soaps; too much can thin them out again.
Spot-treat tough jobs
For burnt pots and sticky trays, sprinkle a teaspoon of fine salt over the surface, then add a small amount of dish soap. Allow it to sit for 2 minutes. Scrub with a soft sponge using short, firm strokes. Rinse with hot water. Repeat once for stubborn carbon.
For stains inside mugs, sprinkle salt onto a damp sponge that is already soapy. Twist it inside the cup. The gentle grit targets the ring without harming the glaze.
For cutting boards, squeeze half a lemon over the wood, sprinkle with salt, and scrub with the cut lemon along with a drop of soap. This mixture eliminates odors and oils. Rinse and dry it upright.
Where salt works, and where it doesn’t
| Surface | How to use | Notes |
|---|---|---|
| Stainless steel pans | Salt + soap paste, soft sponge | Rinse thoroughly; do not let salty water sit for extended periods. |
| Glassware | Salt in soap bottle, gentle wash | Removes haze; avoid gritty coarse salt. |
| Ceramic mugs and plates | Salted sponge | Targets tannin and lipstick stains. |
| Cast iron | Dry salt scrub only, no soap | Rinse, dry, and re-oil immediately to maintain seasoning. |
| Nonstick coatings | Fully dissolved salt in soap | Avoid rubbing loose crystals to prevent micro-scratches. |
| Natural stone (marble, limestone) | Avoid | Use a pH-neutral stone cleaner; salt + acids can etch. |
| Aluminum | Short contact, quick rinse | Do not let salty, soapy water sit; pitting risk over time. |
Why this trick makes sense
Dish soaps depend on surfactants like SLES to encapsulate grease and carry it into rinse water. Salt alters the water’s ionic balance, which tightens micelle structure and can thicken the formula. That thicker layer adheres to vertical surfaces, allowing chemistry to take effect. The crystals themselves provide micro-mechanical action that a soft sponge cannot.
However, there is a limit. Each detergent has a “salt curve.” A pinch enhances thickness. An excessive amount can reverse the effect and make the soap thinner. This is why small test batches are important.
Salt also aids in reducing odors. By drawing moisture from surfaces and limiting the water available to microbes, it minimizes the unpleasant smells that cling to sponges and drains. It does not sterilize, but it shifts the environment away from what odor-causing bacteria prefer.
Extra uses around the sink
- Disposal refresh: Pour 1/4 cup salt and a handful of ice into the disposal, run cold water, then pulse the unit. Add a squeeze of soap afterward.
- Oven racks: Place racks in the sink, sprinkle with salt, drizzle soap, then scrub with a nylon brush. Rinse with hot water.
- Drain maintenance: A tablespoon of salt followed by a kettle of hot water once a week helps prevent film buildup. This is maintenance, not a solution for severe clogs.
- Sponges: Rinse, squeeze, then soak for 10 minutes in 500 ml warm water with a tablespoon of salt and a bit of soap. Rinse and air-dry.
Common mistakes to avoid
Avoid scrubbing dry with coarse crystals on delicate finishes. Completely dissolve the salt when cleaning nonstick pans. Do not soak stainless steel or aluminum in salty, soapy water for long periods. Rinse and dry pans after using salt, especially around rivets and seams.
Skip this method on marble, limestone, or concrete countertops. Use a cleaner designed for stone, then buff with a microfiber cloth. For cast iron, use dry salt as a scouring aid only, and then oil the pan to protect the seasoning layer.
Small setup that makes it stick
Prepare two bottles: one with regular dish soap and one with a salted mixture. Label both. Keep a shaker of fine salt near the sink for spot treatments. Include a soft, non-scratch pad in your caddy. This simple system makes the habit easy, which is crucial for whether a hack succeeds or fails in a busy kitchen.
Consider salt as an enhancer, not a miracle solution. Combine it with good tools, hot water, and quick rinsing.
Extra context for curious readers
Hard water complicates dishwashing because calcium and magnesium interact with surfactants and leave a mineral film. Salt is not a water softener in this context, but the thickened soap film and mild abrasion help counteract that film upon contact. If your glasses still appear foggy, consider using a rinse aid in the dishwasher or a quick soak in warm water with a spoon of white vinegar after handwashing, followed by a thorough rinse.
For a quick home test, divide a greasy pan in half. Wash one side with your usual soap. Wash the other side with the salted mixture. Time each wash and check for streaks under bright light. Adjust the salt by half a teaspoon until the soap feels slightly silkier and adheres longer. That calibration step pays off over a month of washing.