At home, the same floor frequently dries with a cloudy appearance, marked by streaks and persistent stains.
We consulted with facility managers, observed janitors in action, and evaluated their cleaning routines in actual kitchens. The approach is straightforward. The outcomes remain effective even in bright daylight.
Why tiles develop streaks initially
Soap residue creates a thin film. Hard water leaves mineral deposits as it evaporates. Overly wet mops push dirty water into the grout. These three elements contribute to a cloudy finish.
Tile glazes resist heavy waxes. Excess detergent floats on the surface. A dirty bucket recycles grime into fresh applications.
Streaks originate from residue, not the tile itself. Eliminate the residue and manage the water, and the shine will appear naturally.
The professional technique, explained
The straightforward mixture
Professionals use a light, acidic rinse that breaks down films. Combine hot water with a small amount of white vinegar. A practical ratio is one cup of vinegar to four liters of hot water. The heat helps dissolve soap scum. The acidity loosens mineral deposits.
A splash of household alcohol can accelerate drying on glossy porcelain. Two tablespoons per bucket is sufficient. Avoid fragrance enhancers and oils, as they can leave smudges.
White vinegar effectively dissolves soap film and limescale without producing suds. Using less product results in less residue, which leads to fewer streaks.
Be aware of the limitations. Do not apply acid to natural stone like marble, limestone, or travertine. Acid can etch stone. For those surfaces, opt for a neutral pH cleaner.
The method that transforms everything
The technique is more important than the cleaning solution. Microfiber cloths lift dirt with their fine fibers. Cotton merely moves it around. A wrung mop leaves tiles damp rather than wet. Damp tiles dry more quickly and cleanly.
- Begin with dry removal: vacuum or sweep to eliminate grit and hair.
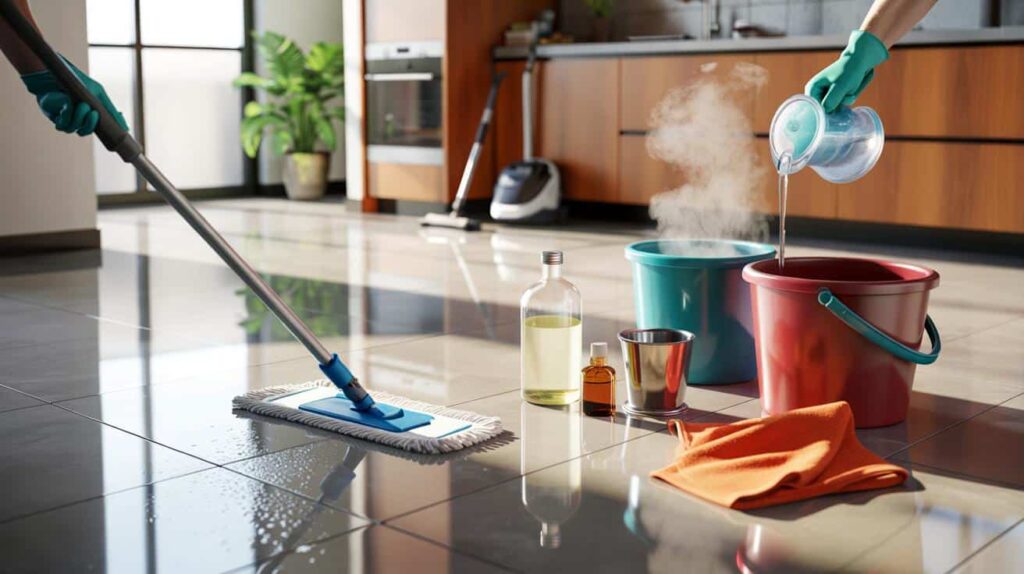
- Set up a two-bucket system: one for the vinegar solution, one for rinse water.
- Dip the mop in the solution, then wring it out thoroughly until it feels just damp.
- Use figure-eight motions while mopping. Overlap your passes to prevent residue edges.
- Frequently rinse the mop in the clean bucket. Change both waters as they become cloudy.
- Avoid leaving puddles. Open a window or use a fan to accelerate evaporation.
- For extra shine, buff high-traffic areas with a clean microfiber towel.
Additions for a showroom-quality finish
Use steam for stubborn buildup
A compact steam mop can loosen greasy dirt in kitchens. Steam helps lift residues from textured tiles. Use low pressure and keep the mop head in motion. Steam should not be used on natural stone or unsealed grout.
Grout and edges require special attention
Grout can trap detergent and debris. A small brush and warm water can help remove them. A neutral cleaner is safe for colored grout. Seal grout lines twice a year to resist spills and slow discoloration.
Manage the water itself
Hard water leaves rings and spots. If you reside in a hard water area, finish with a pass of distilled water. This ensures a clear finish. A spray bottle is useful for targeting spots near sinks.
What to use and when
| Method | Best for | Avoid on | Why it helps |
|---|---|---|---|
| Hot water + white vinegar | Ceramic and porcelain tiles with soap film | Marble, limestone, travertine, cement tiles | Breaks down mineral and soap residues without suds |
| Small amount of alcohol | Glossy finishes that dry slowly | Near open flames or in poorly ventilated areas | Speeds up evaporation and reduces water spots |
| Neutral pH floor cleaner | Natural stone, sealed grout, mixed surfaces | Heavy grease without prior treatment | Safe for delicate materials, leaves minimal film |
| Steam mop | Textured tiles and kitchen grime | Unsealed grout, wood, vinyl plank | Heat loosens dirt without chemicals |
Common errors that lead to streaks
Excess soap creates a film. Fabric softener on microfiber cloths coats the fibers and reduces their effectiveness. Mixing bleach with vinegar produces toxic fumes. A dripping mop forces dirty water into the grout and beneath baseboards. Using the same bucket for washing and rinsing redistributes soil throughout the room.
A routine to maintain the shine
Grit can scratch the glaze and dull the shine. A quick daily sweep helps minimize scratches. A weekly damp cleaning keeps films to a minimum. Entrance mats catch outdoor dust before it enters the kitchen. Kitchen floors benefit from a focused degreasing under the stove every two weeks.
Adjust your routine according to the seasons. Winter brings salt that leaves white marks. Add a rinse with warm water after the vinegar mix during salt season. Summer brings dust, so vacuum more frequently and use less liquid.
A quick case you can replicate tonight
Small apartment, moderate traffic, two pets. Vacuum for three minutes. Mix four liters of hot water with one cup of vinegar. Add two tablespoons of alcohol. Mop in figure-eights from the far wall to the door. Buff the center path with a dry towel. Total time: 12 minutes. The floor dries in eight minutes with a window slightly open.
Additional context for smarter choices
The type of tile informs the cleaning chemistry. Glazed ceramic and porcelain handle light acids effectively. Unglazed porcelain absorbs liquids, so wring harder and avoid prolonged contact. Cement tiles and natural stone benefit from neutral pH cleaners to protect their surfaces. If uncertain, conduct a spot test behind a door.
Water quality influences the cleaning strategy. An inexpensive TDS meter can indicate if your tap water contains heavy minerals. A final wipe with distilled water is beneficial when TDS levels are high. Proper care for microfiber cloths is also essential. Wash them without fabric softener and avoid high heat. Air drying is preferable to maintain static charge.
Safety is as important as shine. Wear gloves if your skin is sensitive to acids. Ensure good ventilation when using alcohol. Mark wet areas in busy households to prevent slips. Store vinegar and cleaners away from bleach to avoid dangerous chemical reactions.